Phase Two: Install Inverters, Charge Controllers, Wiring, Breakers, Switches, Batteries and Etcetera.
We made a project board the same dimensions as the wall in our front pass-through, so we could play around with positioning components trying to come up with the best fit and flow. Here’s some of our early ideas:
After this, we found ourselves parked in a friend’s driveway for additional help, knowledge, and tools.
With some ideas from our prior Tetris-like experience, we decided we’d just get to work, and everything would come together as it should.
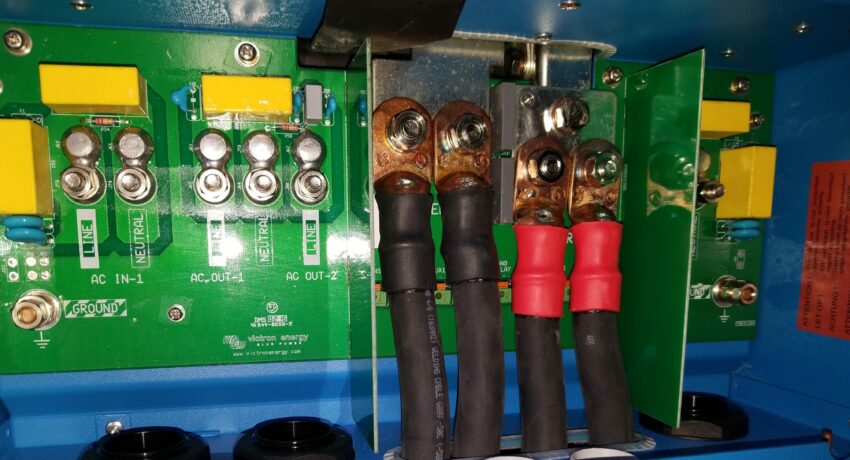
So… we installed the Quattros:
We mounted the solar charge controllers above the Quattros, and then we worked on installing the power distribution bar, including the shunt:
Ok, so now it was time to work on wiring. In order to keep as efficient as possible since we were going with a 12 volt system, we were going to run 4/0 wire, including two leads of 4/0 going to the input on each Quattro.
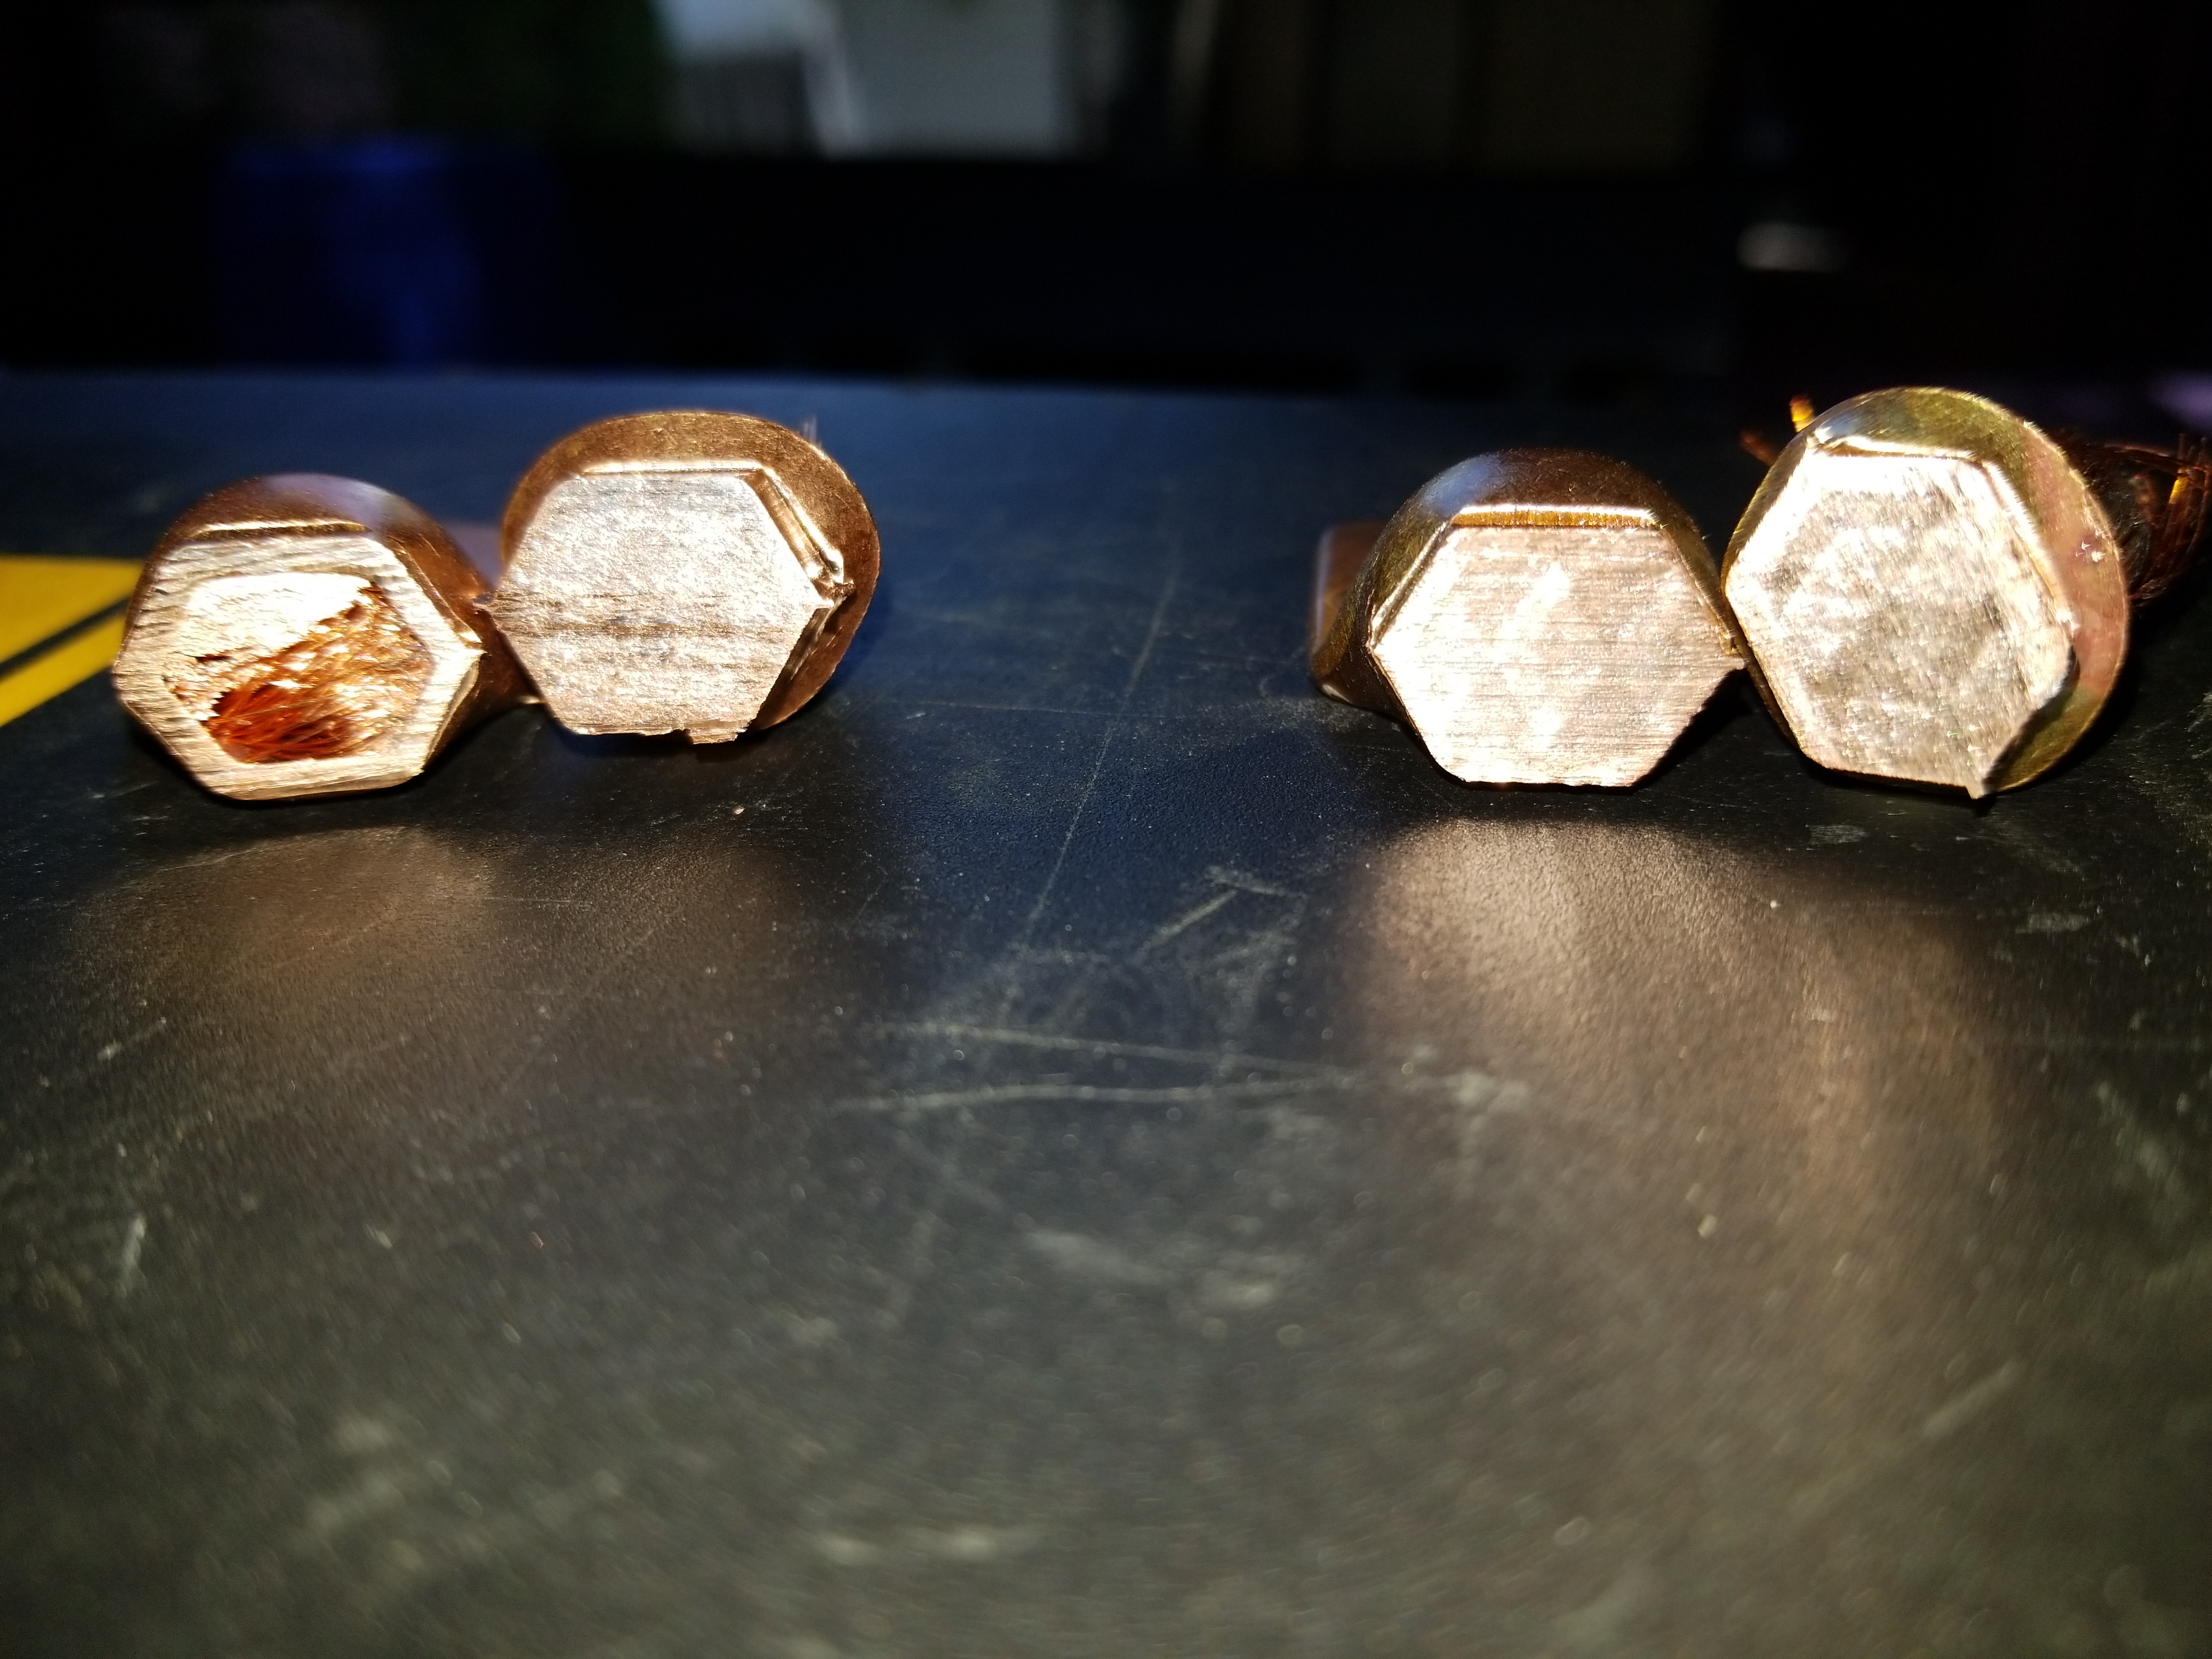
We were trying to decide if we wanted to just hydraulically crimp the ends of wires on the lugs, or if we wanted to crimp and also solder them. So, our friend ran an experiment. He did the two versions, and then cut the lug in half so we could see what was going on.
On the left, is a 4/0 gauge wire with a lug that’s been hydraulically crimped. On the right, is one that’s been crimped and soldered. Obviously, we would be getting a better connection and better efficiency with the one on the right:
Here’s some shots with the progression of the major component wiring:
And now, the nitty gritty. We install the battery tray our friend built, and all the networking, battery control (BMS/AMS), control panels, as well as other needed components for our install:
What a mess!
It wasn’t working yet… so another post is coming soon.
Again, if you have any questions or want more details into our install, please don’t hesitate to comment or message us.


